2. Connect a second control plane
This section adds a second kind cluster to the Hub you installed in
part one, installs
hub-connector in it, and registers it with your running Hub.
Create the second cluster
Create a new kind cluster the Hub API reaches over the Docker network.
kind create cluster --name hub-quickstart-extra
Expose the Hub API
A production install routes all traffic through a Gateway. This step exists only because you're connecting two kind clusters.
In the demo, hub-core and its token exchange are ClusterIP Services, reachable
only from inside the demo cluster. Add two NodePort Services alongside them so
the second cluster can connect.
kubectl --context kind-hub-quickstart -n hub apply -f - <<'EOF'
apiVersion: v1
kind: Service
metadata:
  name: hub-core-nodeport
spec:
  type: NodePort
  selector:
    app.kubernetes.io/name: hub-core
    app.kubernetes.io/instance: hub
  ports:
    - name: http
      port: 8080
      targetPort: http
      nodePort: 30080
---
apiVersion: v1
kind: Service
metadata:
  name: hub-core-token-exchange-nodeport
spec:
  type: NodePort
  selector:
    app.kubernetes.io/name: hub-core
    app.kubernetes.io/instance: hub
  ports:
    - name: token-exchange
      port: 8444
      targetPort: auth
      nodePort: 30444
EOF
The selectors match the labels the hub-core Pods already carry, so these
Services route to the running API without changing the originals.
Create a registration token
Every control plane gets its own registration token. The connector presents that token the first time it contacts the Hub API, which tells the Hub which control plane the connector speaks for.
- Open the control planes page
and sign in as
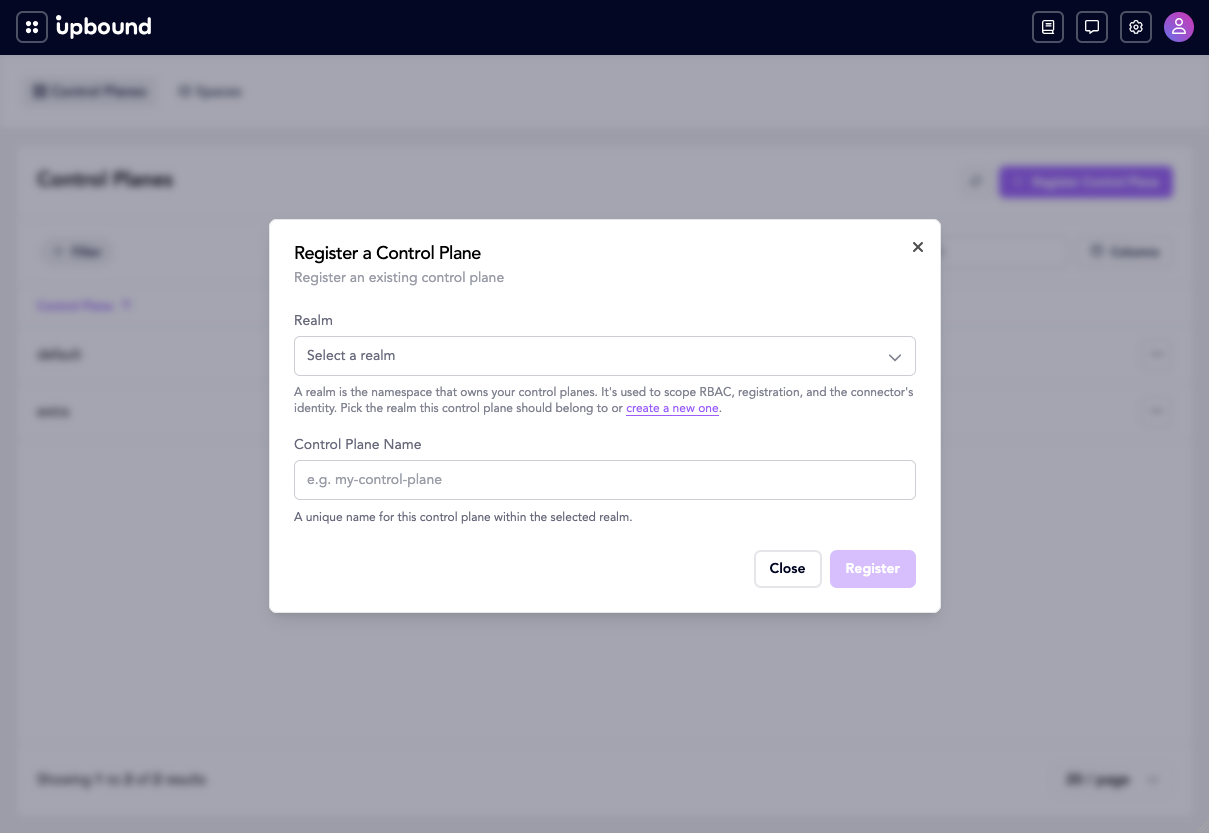
admin/admin. - Register a ControlPlane with the name
extrain thedefaultrealm. - Copy the registration token. The Hub displays it once.
- Save it for the next step:
export HUB_EXTRA_CTP_TOKEN=<paste-registration-token-here>
Install hub-connector
The connector dials hub-quickstart-control-plane:30080 for the API and
:30444 for token exchange. Docker resolves that hostname to the demo cluster's
control plane container with its embedded DNS.
kubectl --context kind-hub-quickstart-extra create namespace hub

kubectl --context kind-hub-quickstart-extra -n hub create secret generic hub-connector-credentials \
  --from-literal=registrationToken="$HUB_EXTRA_CTP_TOKEN"

helm upgrade --install hub-connector oci://xpkg.upbound.io/upbound/hub-connector \
  --kube-context kind-hub-quickstart-extra \
  --version 1.1.0 \
  --namespace hub \
  --set connector.hub.url=http://hub-quickstart-control-plane:30080 \
  --set connector.hub.tokenExchangeUrl=http://hub-quickstart-control-plane:30444 \
  --set connector.hub.allowInsecure=true \
  --set connector.credentials.existingSecretRef.name=hub-connector-credentials \
  --wait --timeout 2m
Refresh the Hub and confirm the second cluster is online.
Navigate to the resources
page. You can filter by
control plane to only lists resources in your default or extra control
plane.
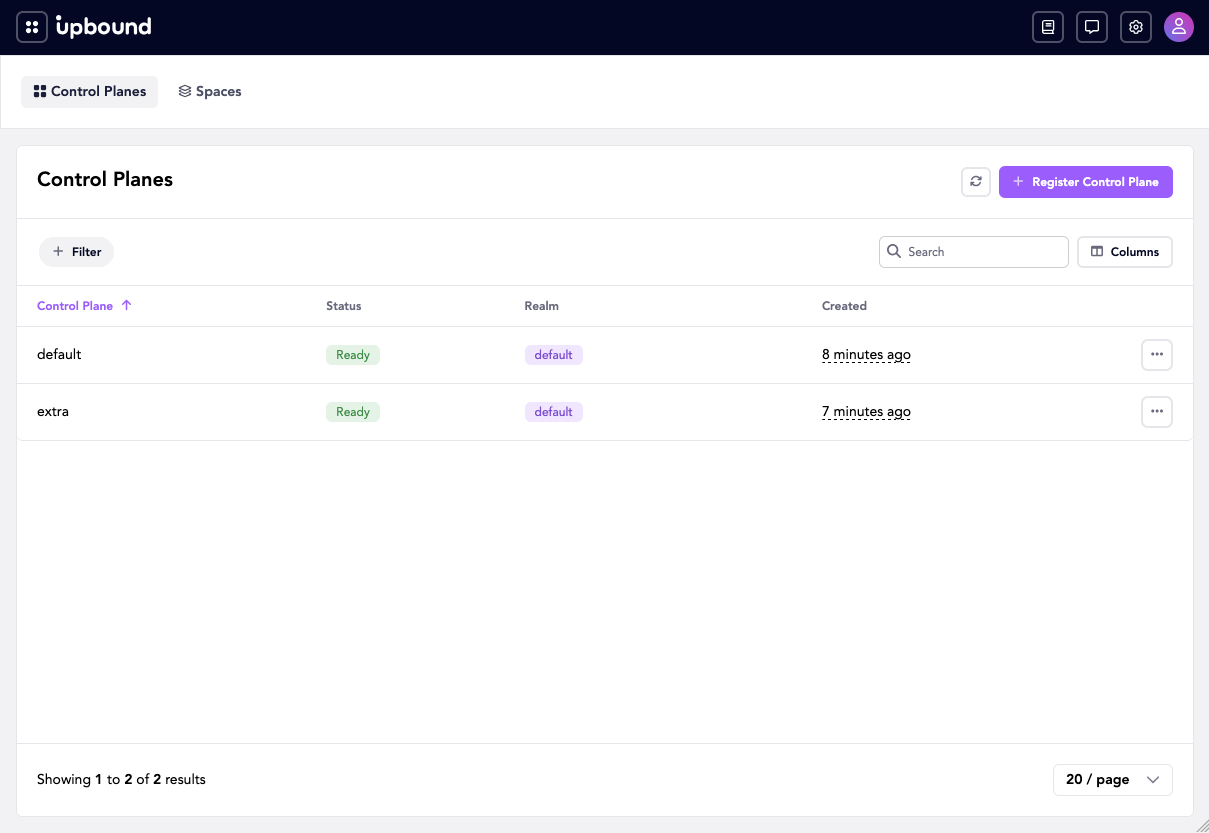
In the control planes page
lists extra next to default with a Ready status.
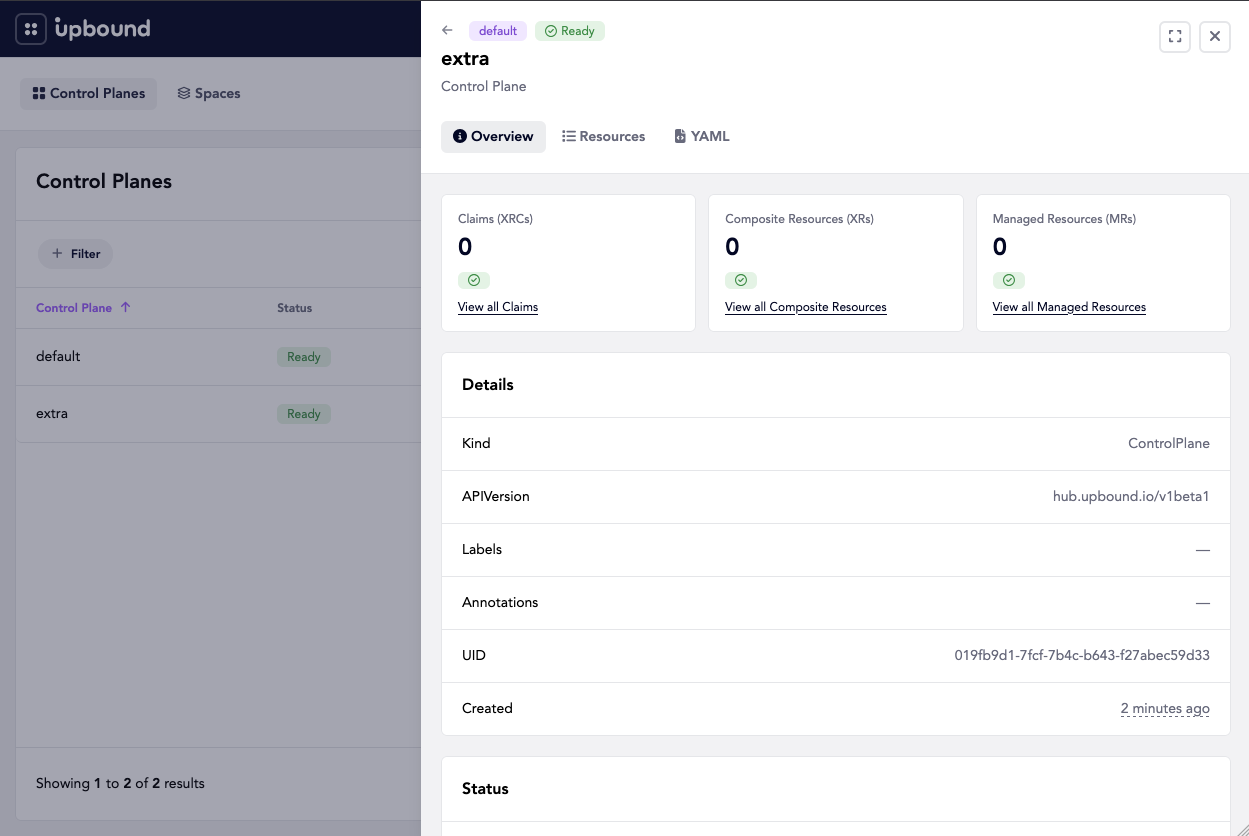
Select extra to see its resource counts and details:
Next steps
If you're stopping here, follow Clean up to delete what you created.
- Builders workshop for real cloud resources.
- Explore the Hub for the centralized management installation.