Upbound Console
Upbound's Console is the command and control center for users to operate their organization's internal cloud platforms. The Console consolidates management of your internal cloud platforms under a single pane of glass. You can view usage and logs, debug control plane operations, and more across all your control planes.
Dashboard
The default landing page for the Console is the control plane dashboard. On the dashboard is a table view of your control planes showing key details such as name, status, configuration version, and creation date. You can search the table by control plane name to filter down the table.
Above the dashboard is Upbound's top navigation bar. Wherever you are in the product, the navigation bar allows you to access:
- Control plane dashboard
- Configurations list
- Organization settings and management
- Help and documentation
- the Upbound Marketplace
- Account management and an org picker (if you belong to several organizations)

Control Plane Explorer
Clicking into a control plane brings you to the control plane explorer. From the control plane explorer you can learn how to integrate the control plane

control plane and configuration creation
You can create new control planes from the dashboard.
Creating a new control plane from the Console:

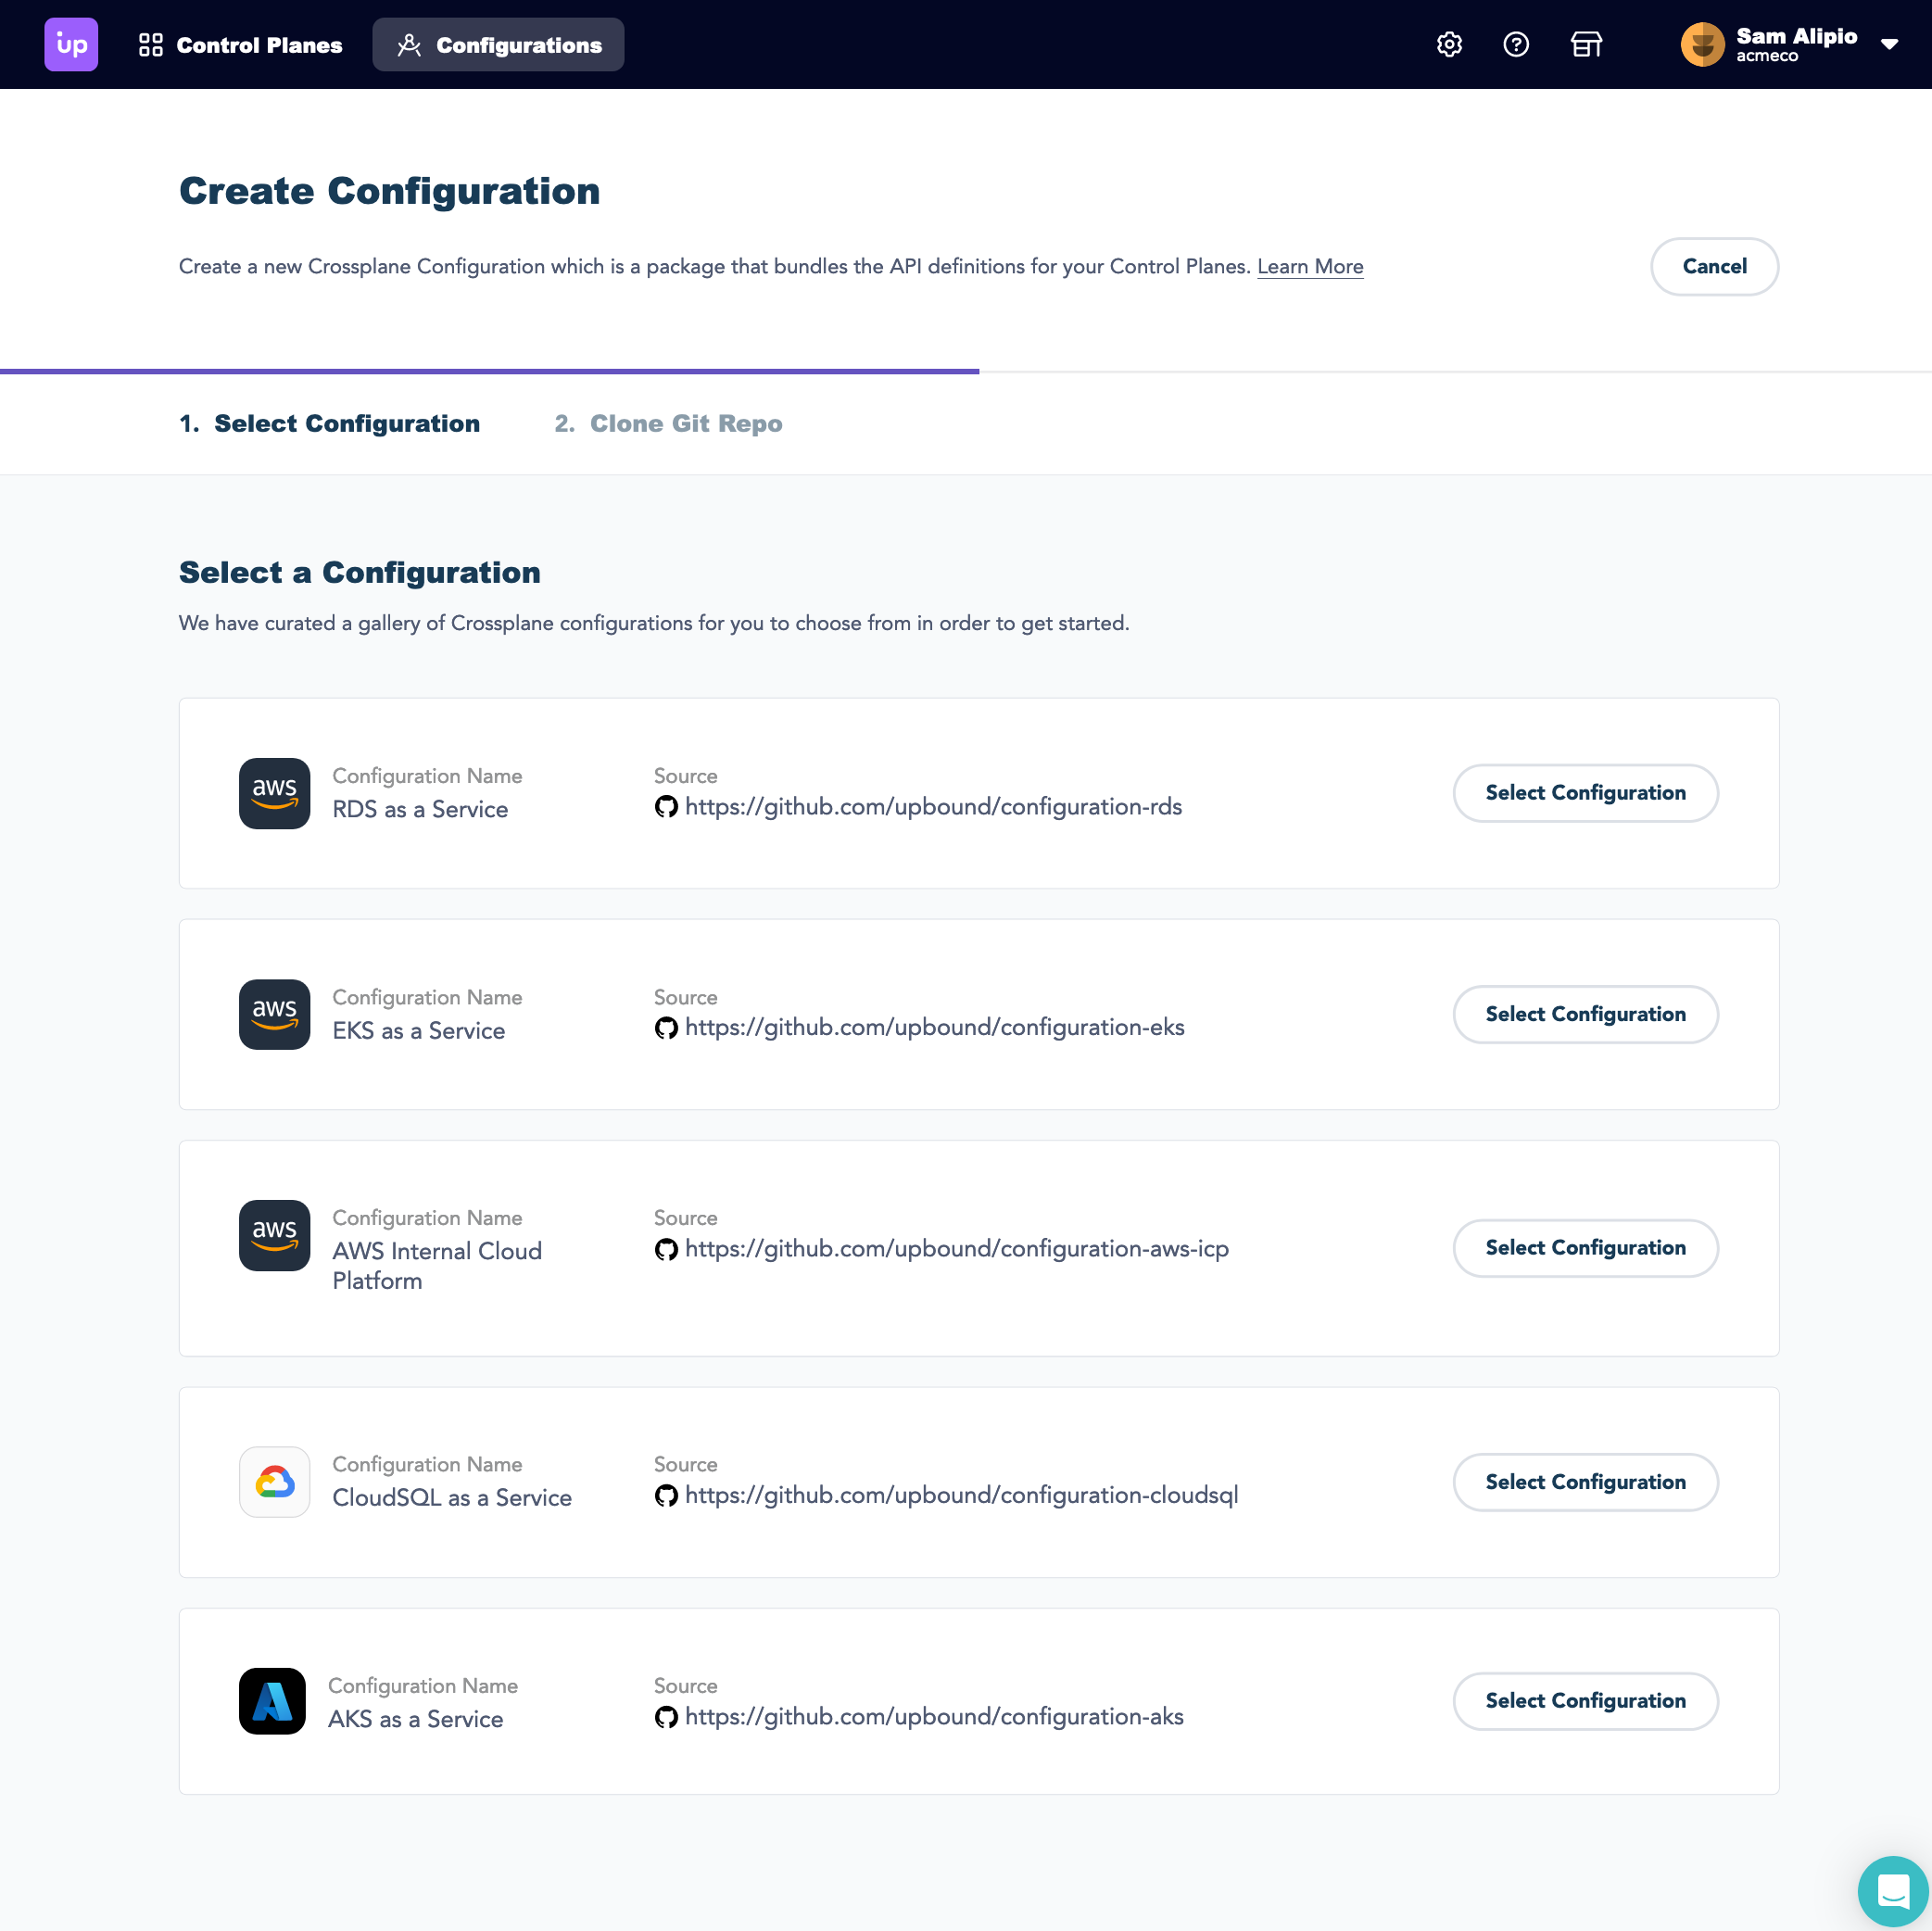
You can create new configurations from the configurations list.
Creating a new Git-synced configuration from a gallery of starter configurations:

Organization and team management
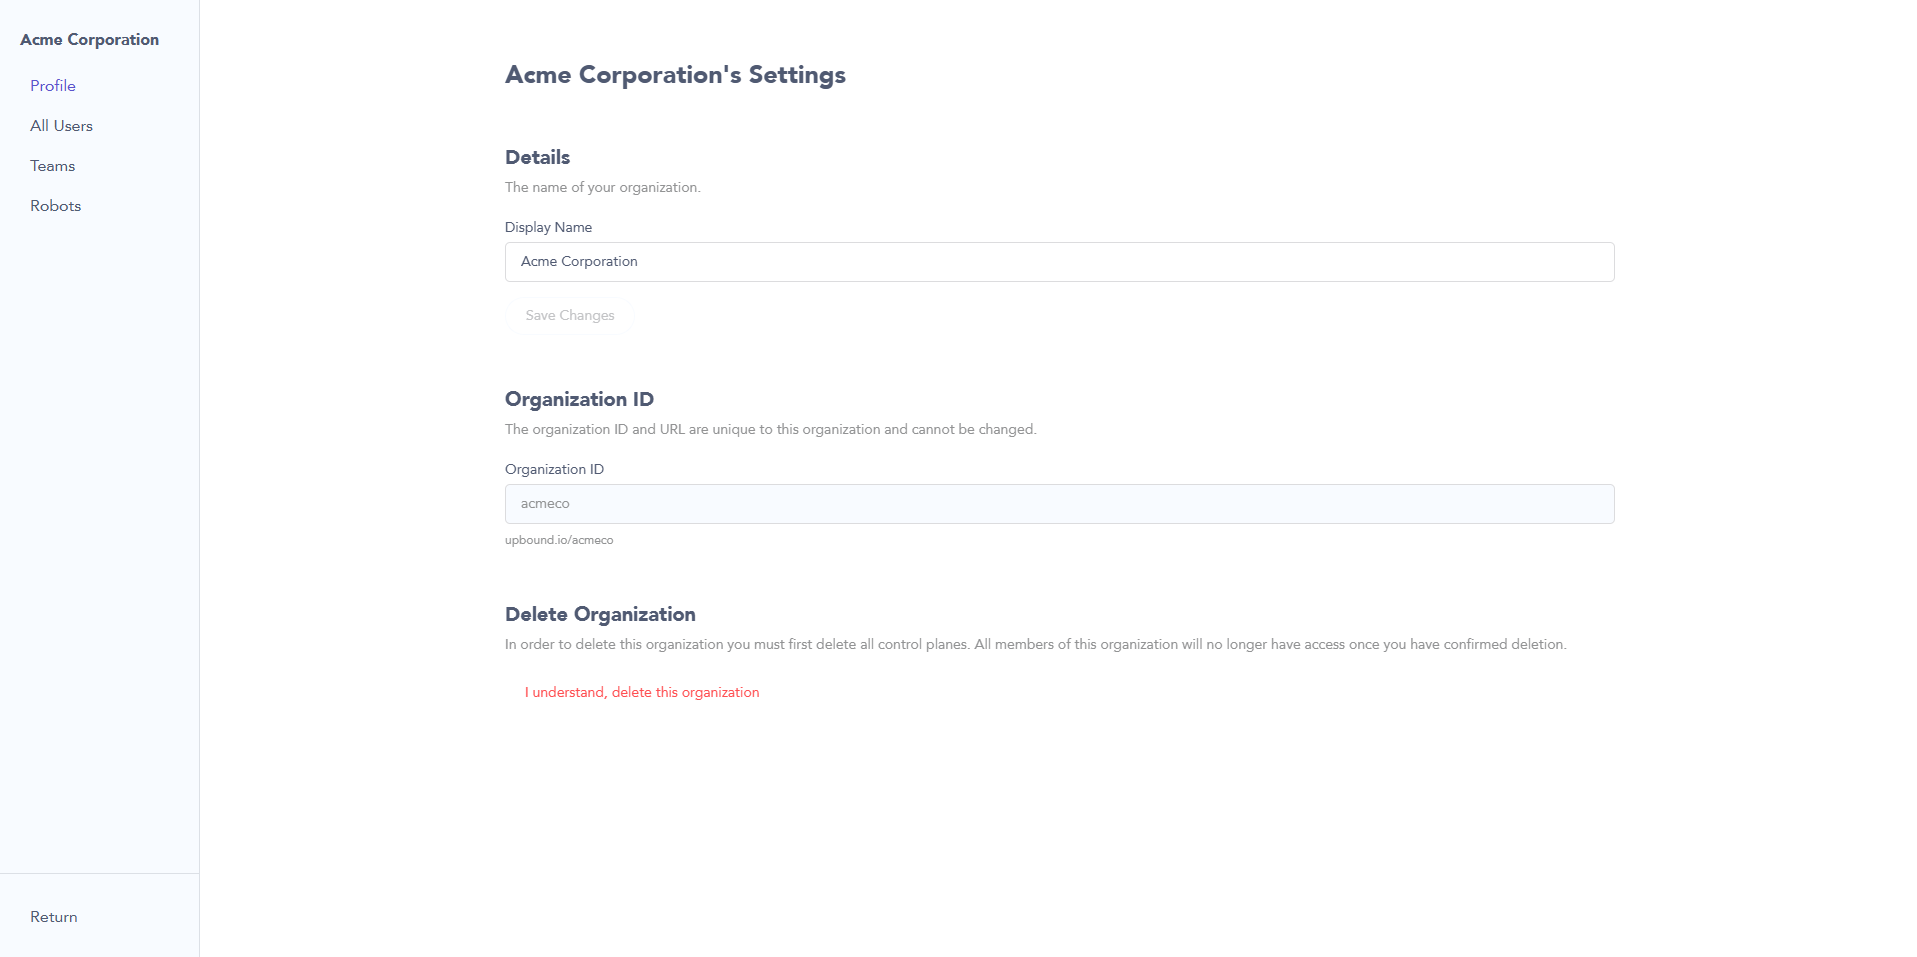
Clicking the gear icon (Organization Settings) in the top navigation bar takes you to the organization management pane. You can create new team members, assign roles, and more.

Account management
Clicking on your account profile and selecting My Account takes you to your personal account settings.
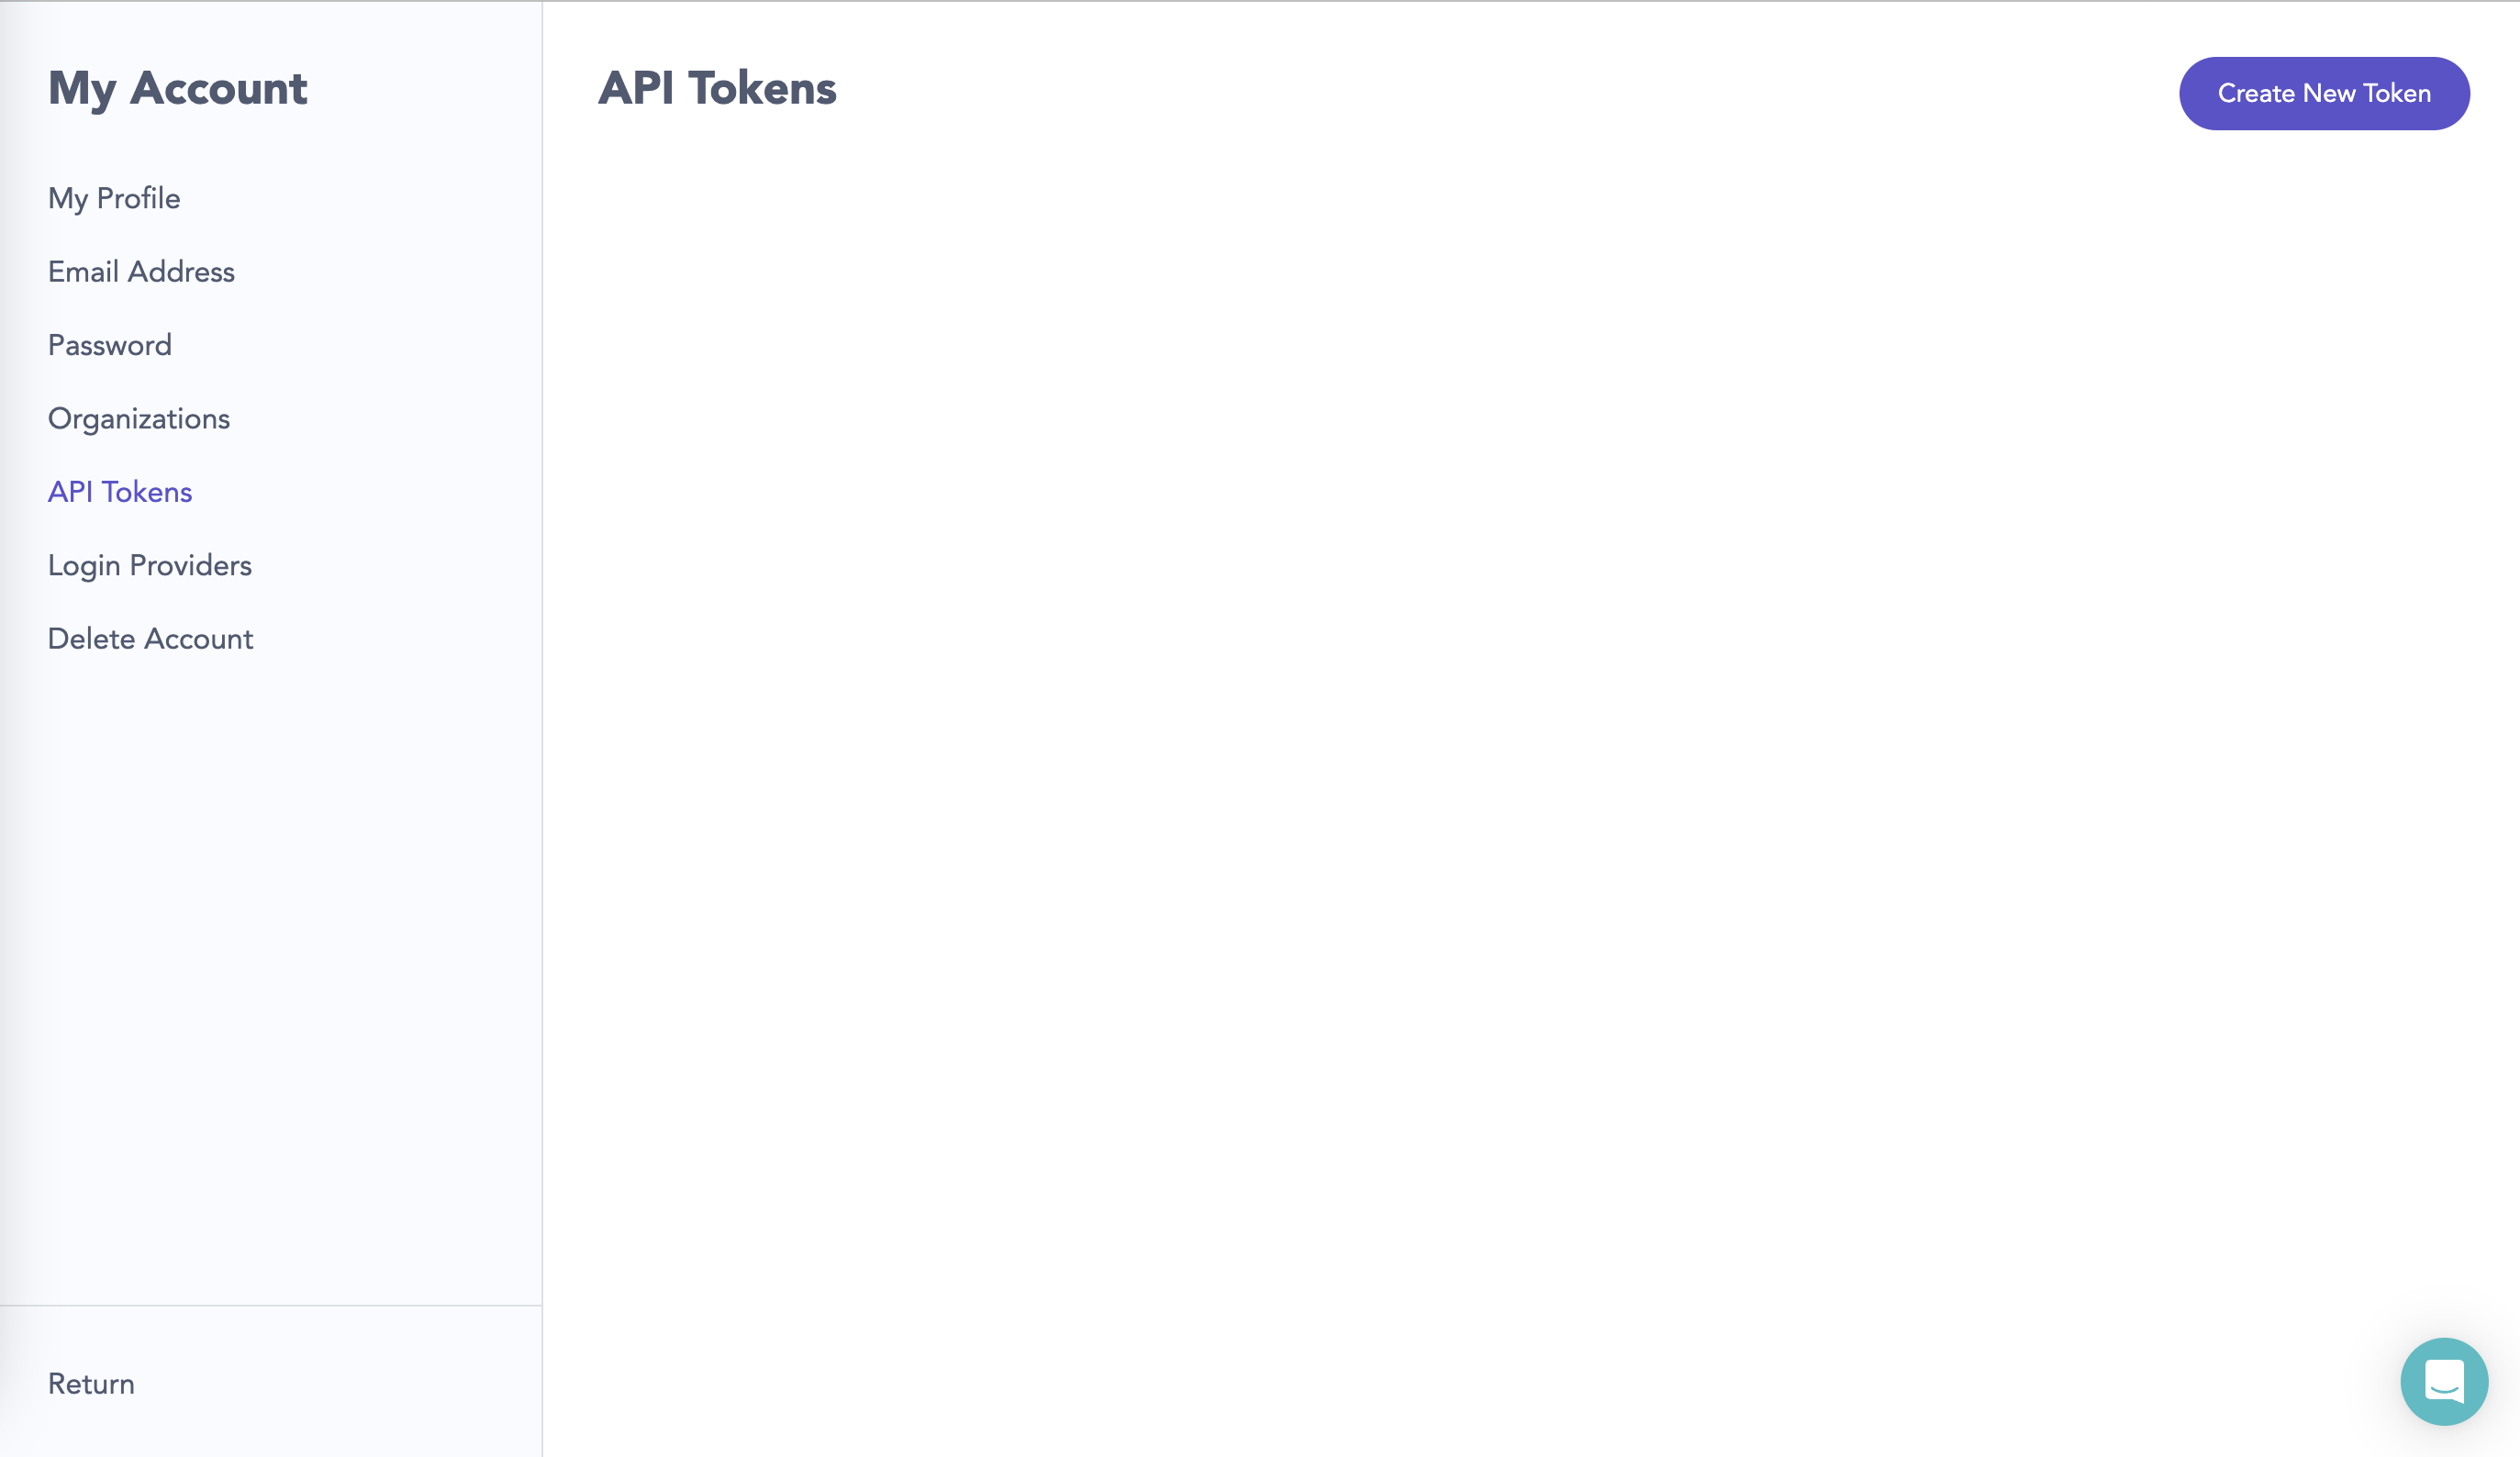
Create a personal access token
You can create a personal access token (PAT) from the Account Settings view. Select API Tokens in the left-side menu and then select Create New Token. Use personal access tokens to authenticate to Upbound with the up CLI.
